Learn about custom header links and how to add them to your web app.
Custom header links are links that you can add to the web app of your Intranet as icons. They provide quick access to content that your users frequently visit or content that is of high importance. They can direct users to any of the following:
- Internal content
- External sites
- Any menu item within the Staffbase platform
In this article, we’ll look at how to add different types of custom header links to your Intranet web app using the Quick Links API.
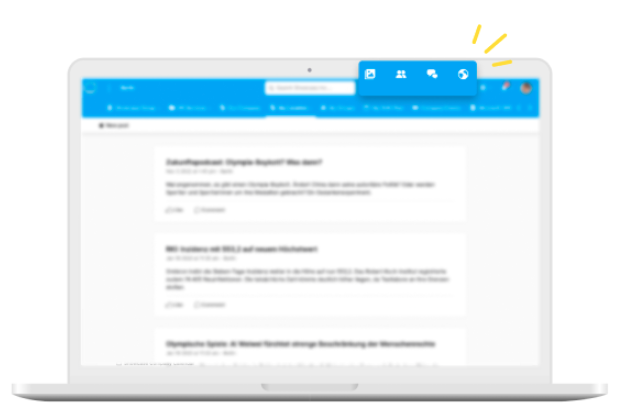
Your users can see custom header links as icons on your web app header. Clicking on an icon opens the link associated with it either in a separate tab or within the web app.
There are two types of custom header links:
- Dynamic Header Links
These are custom header links that direct users to existing menu items. - Static Header Links
These are custom header links that direct users to non-menu items in the platform or external websites.
For more information, read Overview of Custom Header Links for Desktop.
You can create any number of custom header links. But you can only display up to 4 custom header links. The Employee Directory and Chat also count as Custom Header Links if activated for your platform. The order of the custom header links depends on the priority you assign them. You can assign a priority value from 1 to 4 to determine the order in which they appear.

If no priority is defined for:
- Dynamic header links: The dynamic header link takes the priority based on the order of the content menu.
- Static header links: The newest created static header link without a priority takes the first position.
- You have Custom Header Links enabled for your platform.
- You have already created an API token with administrative access via the Staffbase Studio. Learn more.
Dynamic header links are links that direct users to an existing menu item in your Staffbase platform. Since these are already existing content types, you do not have to define the visibility, icon, or link additionally.
- Make a
POSTrequest to the endpoint/branch/quicklinks. In the request body schema, set the following:
| Parameter | Action |
|---|---|
platform | Add desktop to define the custom header link that needs to be available for the desktop app. |
menuNodeId | Add the id of the menu item that you want to add. You can get the menuNodeId by opening the content in your Intranet. For example, if you want to add the news channel CEO's announcements as a custom header link, you can open the channel and copy the numerical at the end of the URL. If this is the URL: https://exampleapp.com/content/menu/5afb1d030a09a25d68542429 , the menuNodeId is 5afb1d030a09a25d68542429 |
priority | Optionally, add a value between 1 and 4 to define the order in which the custom header link need to be displayed. If no priority is defined, the link takes the priority based on its corresponding menu item position. |
enforceNewWindow | Optionally, add the value true to open the link in a new tab. |
Example request
1curl -X 'POST' \2 'https://exampleapp.staffbase.com/api/branch/quicklinks/' \3 -H 'accept: application/json' \4 -H 'Authorization: Basic {Token}' \5 -H 'Content-Type: application/json' \6 -d '{7 "platform": "desktop",8 "menuNodeId": "5f880996b96e564265e8e852",9 "priority": 1,10"enforceNewWindow": "true"11}'
You get a 201 response that the resource was created. You can log into your Intranet and view the custom header link.
Static header links are links that direct users to a non-menu item in the platform or to an external website.
To create a static header link, you need to add an icon. Learn about the icon specifications. You can add the icon link in one of the following ways:
- Using Media API: Add the icon URL for the object logo. You can get the URL of an icon by uploading the image to the Staffbase platform using the Media API.
- Using any links to the icon.
Make a POST request to the endpoint /branch/quicklinks. In the request body schema, set the following parameters with respective values:
| Parameter | Action |
|---|---|
platform | Add desktop to define the custom header link that needs to be available for the desktop app. |
| localization | Define the object that contains localization strings.These strings are used for screen readers. You can provide the locale codes and the name of the custom header link in the respective language locale codes. |
logo | Optionally, define the object that contains the icon link. |
accessorIds | Define the visibility of the custom header link to users. You can add the following IDs:
You can also provide both userID and groupID together as accessorIDs. If you do not provide any IDs, the custom header link is not visible to any users. |
link | Add the link to the website or content to which users need to be directed. |
priority | Add a value between 1 and 4 to define the order in which the custom header link must be displayed. |
enforceNewWindow | Optionally, add the value true to open the link in a new window. |
Example request
1curl --location 'https://exampleapp.staffbase.com/api/branch/quicklinks/' \2--header 'Authorization: Basic {Token}' \3--header 'Content-Type: application/json' \4--data '{5 "platform": "desktop",6 "localization": {7 "en_US": {8 "name": "Staffbase"9 },10 "de_de": {11 "name": "Staffbase"12 }13 },14 "logo": {15 "original": {16 "url": "https://exampleapp.staffbase.com/logo.png"17 }18 },19 "accessorIds": [20 "5d1374030a09a29cde85b581",21 "5f880996b96e564265e8e853"22 ],23 "link": "https://yourcompany.com",24 "priority": 325}'26
You get a 201 response that the resource was created. You can log into your Intranet and view the custom header.